Melted Crayon Insects
 [1]
[1]
MATERIALS
- Old crayons
- Mini pencil sharpener or a small paring knife be sure to have an adult help!
- Iron
- Ironing board and towel
- Scissors
- Parchment paper or a brown paper bag
- Paper
- Tempera paint or lightly colored markers optional
Springtime is filled with colorful insects making all kinds of sounds. They are like living, chirping works of art.
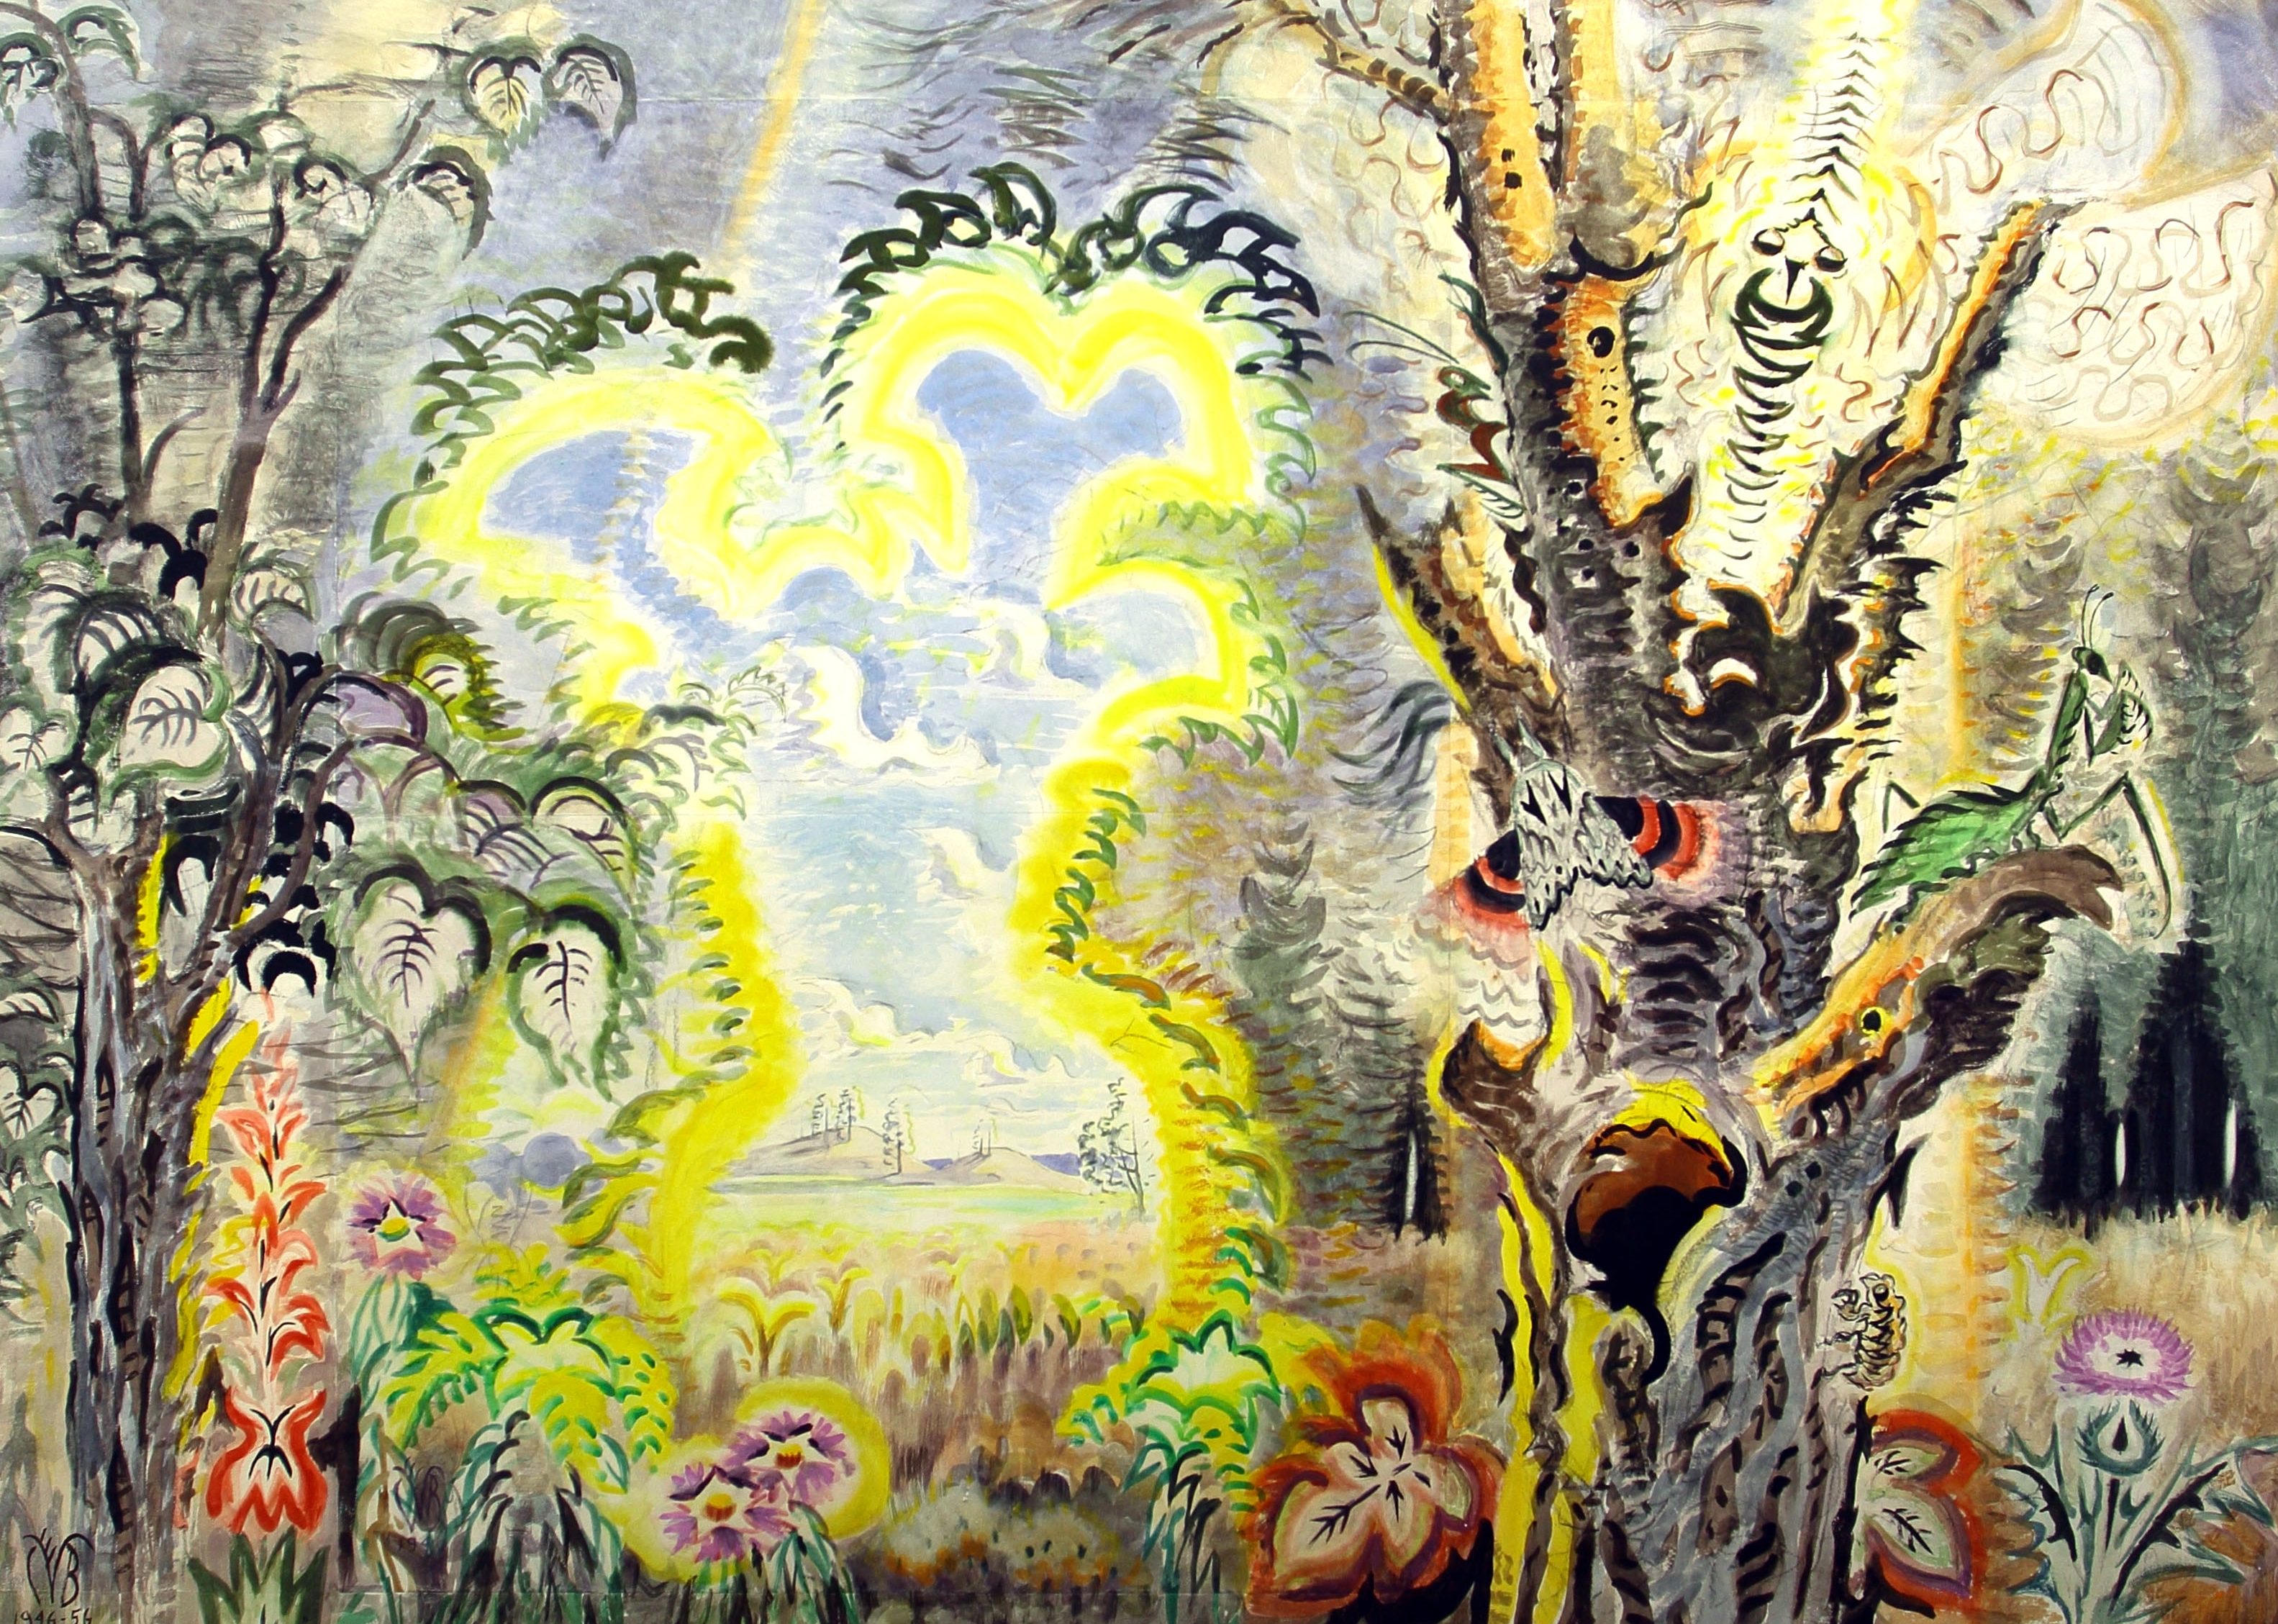
Artist Charles Burchfield [2] was fascinated by these small creatures and their natural habitats as well. Take a look at some of his work including some visitor favorites like Gateway to September (left) or Insects and Fish Studies for Summer Afternoon [3]. Take a look, then try making your own inspired
insects using melted crayons!
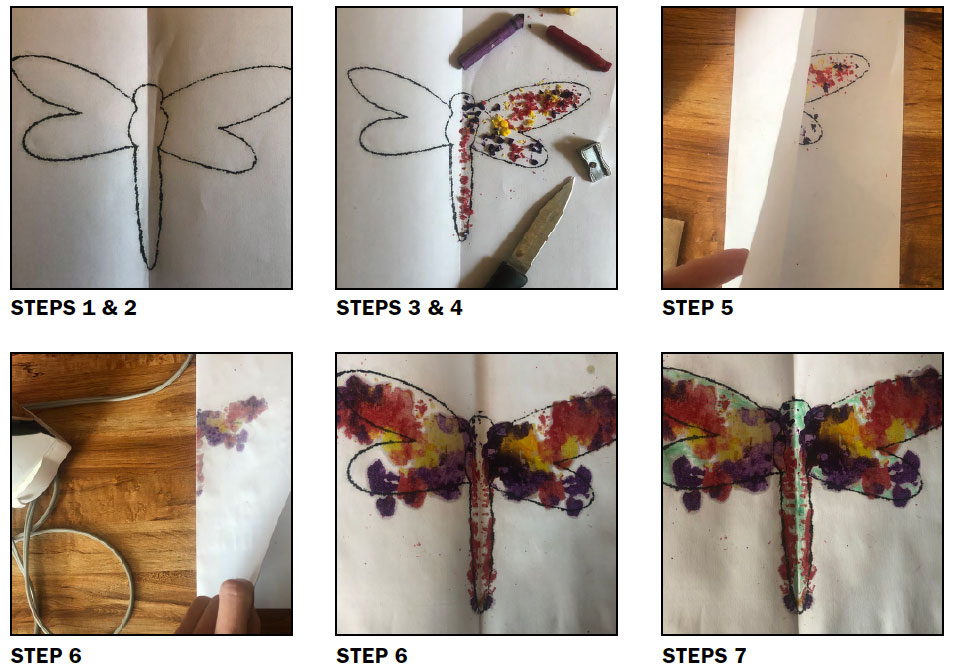
INSTRUCTIONS
- Draw the shape of an insect onto your paper, or print one off of the computer.
- Fold the paper in half across the midline of the insect, then unfold.
- Start shaving crayon bits. Try choosing a few colors that are next to each other on the color wheel. For example: blue-purplepink, or red-orange-yellow, or green-turquoise-blue. Using this sort of palette avoids all of the crayons melting together and turning brown.
- Place the crayon shavings on one half of the insect.
- When your insect is filled in on one side, fold the paper in half (unfilled side to meet the filled side).
- Place the folded insect on an ironing board or towel. Then cover it with a piece of parchment paper or brown paper bag over the folded insect. With the help of an adult, briefly iron over the parchment paper for no more than 15 seconds.
- Now open your paper and add more colors with paint or markers if you’d like.
- When your insect is completely dry, cut it out. You can add string to hang it from your ceiling or in your window.
Share your creations @huntermuseum